


Waxing and shaving are fundamentally different hair removal methods.
Waxing removes hair from the follicle.
Shaving cuts hair at the surface of the skin.
When clients alternate between shaving and waxing, the integrity of the waxing process is compromised. The result is often uneven regrowth, increased discomfort, reduced efficiency, and compromised skin health.
For licensed estheticians, understanding and confidently explaining why shaving interferes with waxing is essential to maintaining service quality and client trust.
Hair Growth Cycles & Follicular Disruption
Hair grows in three distinct phases: anagen (active growth), catagen (transition), and telogen (resting).
Consistent waxing gradually helps synchronize growth cycles by repeatedly removing hair from the root. Over time, more hairs are targeted during the anagen phase, improving smoothness and longevity of results.
Shaving disrupts this synchronization.
When hair is cut at the surface, the follicle remains active and regrows independently of the waxing cycle. This leads to patchy regrowth patterns, making it difficult for wax to remove hair uniformly.
The result is reduced efficiency and inconsistent smoothness — both of which affect the perceived quality of the service.
Insufficient Hair Length for Proper Wax Adhesion
Effective waxing requires adequate hair length — typically about 1/8 to 1/4 inch, depending on hair texture and wax type.
Shaving removes visible hair entirely, forcing clients to wait for regrowth before waxing can be performed safely and effectively.
Clients who shave between appointments often present with hair that is:
- Too short
- Uneven in growth
- Difficult to grip
This may result in incomplete removal, increased tweezing time, or even the need to reschedule.
When waxing cannot perform optimally, client satisfaction declines.
Perceived Thickness & Increased Discomfort
After shaving, regrowth often feels coarser and denser because the blunt edge of cut hair creates a stronger tactile sensation.
When waxing is reintroduced after repeated shaving, clients may experience increased discomfort, particularly during the first few sessions.
It can take several consistent waxing appointments — without shaving in between — to reestablish the long-term benefit of waxing: softer, sparser regrowth.
Hair that has been waxed consistently grows back finer and less dense over time.
Consistency is key.
Higher Risk of Ingrown Hairs
Shaving increases the likelihood of ingrown hairs due to the blunt edge created when hair is cut at the surface.
These sharp edges can curve back into the skin, particularly in areas prone to friction.
When waxing resumes after shaving, ingrowns may already be present beneath the surface. Waxing over compromised skin can increase:
- Inflammation
- Sensitivity
- Post-treatment complications
Licensed estheticians must carefully assess these areas and adjust services accordingly.
Client education plays a critical role here. Encouraging proper at-home exfoliation supports healthier regrowth patterns.
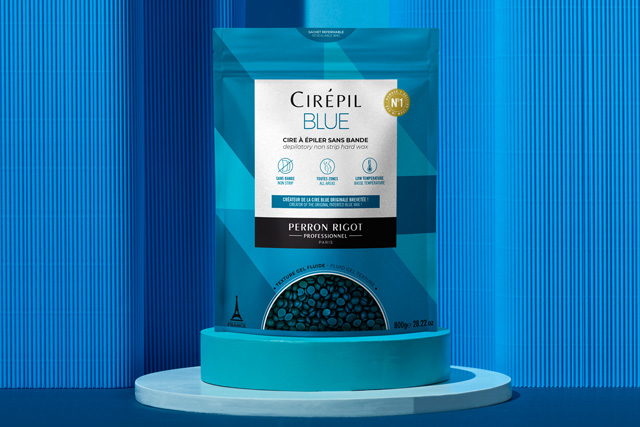
A combined mechanical and chemical exfoliation routine is often recommended. Cirépil by Perron Rigot Double Gommage offers a professional solution to help maintain smooth, ingrown-free skin between appointments.

Increased Skin Sensitivity & Micro-Trauma
Shaving acts as a mechanical exfoliation method and may create micro-cuts or barrier disruption — particularly when performed frequently or improperly.
Waxing over freshly shaved or repeatedly shaved skin increases the risk of:
- Skin lifting
- Irritation
- Post-inflammatory hyperpigmentation
Clients may unknowingly compromise their skin resilience by shaving between waxes, making professional waxing more unpredictable and uncomfortable.
Skin integrity depends on consistency.
Client Education & Professional Authority
Educating clients about the incompatibility of shaving and waxing is a core part of professional practice.
Clear, confident explanations help:
- Manage expectations
- Encourage consistent scheduling
- Reduce service complications
- Improve long-term results
Shaving and waxing serve different purposes and cannot be alternated without consequence.
For licensed estheticians, reinforcing method consistency protects skin health, enhances waxing outcomes, and strengthens professional credibility.
To further refine consultation techniques and client education strategies, explore our professional online waxing courses and in-person waxing training programs designed for licensed estheticians.
Quick Summary: Why Shaving and Waxing Don’t Work Together
Alternating between shaving and waxing can lead to:
- Disrupted hair growth cycles
- Patchy regrowth
- Insufficient hair length
- Increased discomfort
- Higher risk of ingrown hairs
- Greater skin sensitivity
Consistent waxing promotes finer regrowth, smoother skin, and predictable results.
Frequently Asked Questions About Shaving & Waxing
Why does shaving make waxing less effective?
Shaving cuts hair at the surface, disrupting growth cycles and causing uneven regrowth that reduces wax adhesion and removal efficiency.
Does shaving make hair grow back thicker?
Shaving does not biologically increase hair thickness, but the blunt edge of cut hair makes regrowth feel coarser and more noticeable.
How can clients prevent ingrown hairs between wax appointments?
Consistent exfoliation using both mechanical and chemical methods — such as Cirépil by Perron Rigot Double Gommage — helps reduce ingrowns and maintain smooth skin.
Conclusion: The Professional Standard
Waxing is most effective when performed consistently.
Alternating with shaving compromises not only results but also skin integrity and client comfort.
For licensed estheticians, understanding the physiological and practical implications of shaving ensures stronger consultations, improved outcomes, and long-term client loyalty.
Professional waxing is not just a service.
It is a disciplined method — and consistency defines its success.


